


By Kurt Jackson | KJ Electrical Contracting
Table of Contents
Key Takeaways
- Mounting a ceiling fan safely depends on a load-rated electrical box, the right blade span for the room, and keeping the blades at least seven feet above the floor.
- Mounting a fan to a proper fan-rated box and secure framing, rather than a standard lighting outlet box, is what keeps the fixture safe and stable over years of constant motion.
- Wobbling, flickering lights, motor noise, warm switch plates, and a sagging fixture are the clearest warning signs that a ceiling fan was mounted on an unsupported box or wired incorrectly.
- A UL-listed, fan-rated electrical box anchored to structure is the single most important safeguard against a fan that shakes, sags, or falls.
Ceiling fan installation refers to mounting a fan to a ceiling-rated electrical box, connecting it to the home's wiring, and securing the assembly so it safely supports the unit's moving weight. According to ENERGY STAR, fans should be mounted at least 7 feet above the floor and 18 inches from the walls. Correct work also means verifying the box can carry the load, choosing the right blade span, and following the manufacturer's wiring diagram. Because it ties into live circuits, it shares the safety demands of recessed lighting installation and lighting installation services. This guide is informational only and not professional advice; always follow manufacturer instructions and consult a qualified electrician.
Why Does Ceiling Fan Installation Matter?
Ceiling fan installation is the process of safely mounting, wiring, and securing a fan to a properly rated electrical box so it circulates air without vibrating loose or overloading a circuit. Done correctly, it improves comfort, supports year-round energy savings, and protects your home from the fire and shock hazards tied to faulty connections. Why does this matter so much? A fan and its motor create constant motion, and a standard lighting outlet box is not built to carry that moving load. That is why ceiling fan installation calls for a fan-rated box and secure framing rather than a quick swap. For households dealing with faulty wiring or malfunctioning switches, a professional ceiling fan installation also gives a qualified electrician the chance to confirm the circuit, connections, and mounting are sound. Proper clearance matters too: guidance in the Ceiling Fan Basics resource recommends positioning a fan at least 7 feet above the floor and 18 inches from the walls for safe, effective airflow. As a licensed and insured contractor serving Southeast Kansas, KJ Electrical Contracting approaches every job with that safety-first standard. If your project overlaps with other upgrades, pairing a fan with a GFCI outlet installation or wiring mapped out with a new construction electrician helps keep everything to code.

What Warning Signs Point to Fan Problems?
Watch for a wobbling fan, flickering or dimming lights, a humming motor, warm switch plates, and a fixture that pulls loose from the ceiling. These warning signs usually trace back to an unsupported outlet box, loose connections, or an undersized circuit, and each one points to a ceiling fan installation problem worth addressing quickly. A wobble is the most common complaint, and it often means the blades are unbalanced or the electrical box was never rated to carry a fan's moving weight. Faulty wiring shows up as flickering lights, warm cover plates, or a faint burning odor near the switch, and those symptoms should never be ignored during or after a ceiling fan installation. Frequent breaker trips when the fan starts up can point to an overloaded circuit or a shared neutral that cannot handle the added motor load. A persistent hum, grinding, or clicking usually signals a failing motor bearing or a downrod that was not tightened correctly. The U.S. Environmental Protection Agency's ENERGY STAR program recommends mounting fans at least seven feet above the floor and eighteen inches from walls, so a fan hung too low is both a safety hazard and a sign of a rushed layout. At KJ Electrical Contracting, we often see homeowners from Chanute to Burlington discover these problems months after a rushed DIY job across Southeast Kansas. When you work with a licensed and insured electrician, a proper ceiling fan installation starts by confirming the box, wiring, and circuit can all carry the fan safely, so small warning signs never grow into fire or fall hazards. Have you noticed your fixture shaking, buzzing, or drooping?
Why Does the Electrical Box Matter Most?
The electrical box carries the entire moving weight of the fan, so it matters more than any other component. Standard lighting boxes are not built for that load and can loosen over time, letting the fan drop. A UL-listed, fan-rated box anchored to a joist or a brace bar prevents the wobble, sagging, and detachment that worry homeowners most. The National Electrical Code requires a ceiling fan to be supported by a box listed for that purpose, which is why professionals inspect it first and never reuse a standard lighting box.
How Can You Catch Problems Early?
Run the fan through every speed and both directions right after installation, then watch and listen closely. A safe, balanced unit runs quietly with minimal movement. If you notice shaking, unusual noise, or lights dimming when it starts, switch it off at the breaker and have it inspected. Catching these signs early prevents motor burnout, loosened connections, and a fixture that could work itself free.
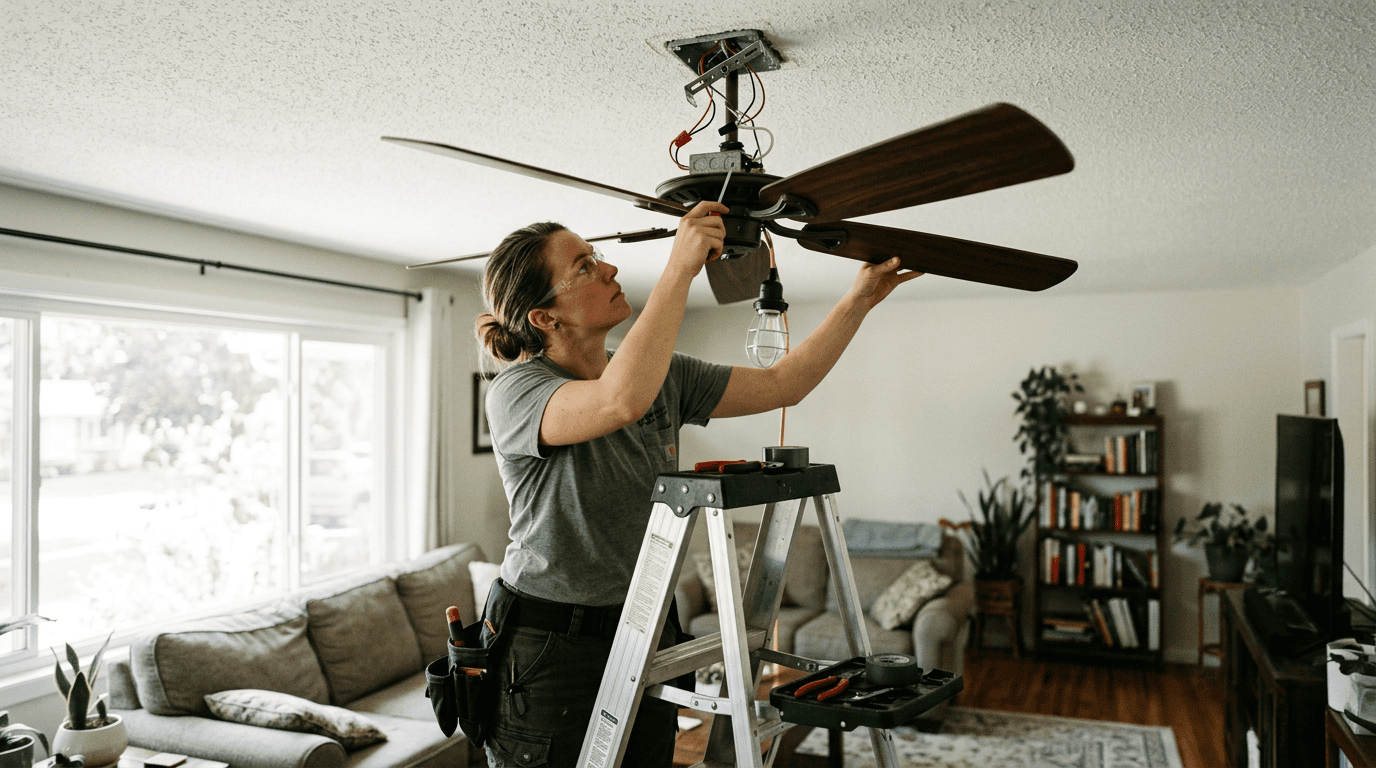
- Visible wobble or shaking blades, often the first clue an electrical box cannot support the fan's weight
- Flickering or dimming lights when the fan runs, a sign of loose or overloaded wiring
- Humming, grinding, or clicking from the motor or an improperly tightened downrod
- A warm switch plate or a faint burning smell near the wall control
- The fan sagging, tilting, or pulling away from the ceiling mount
- A wobble that appears right after a ceiling fan installation, pointing to an unbalanced or unsupported unit
Rule of Thumb: Support Comes First
- A safe ceiling fan installation always begins with a fan-rated box and secure wiring; if a fan wobbles, buzzes, or dims the lights, stop using it and have a licensed electrician inspect the mount before damage or injury occurs.
Quick Facts
- 7 ft – Minimum mounting height above the floor recommended by ENERGY STAR
- 18 in – Minimum clearance from surrounding walls recommended by ENERGY STAR
- 52 in – Most popular ceiling fan blade span
- 29-54 in – Typical range of ceiling fan blade spans
What Is the Ceiling Fan Installation Sequence?
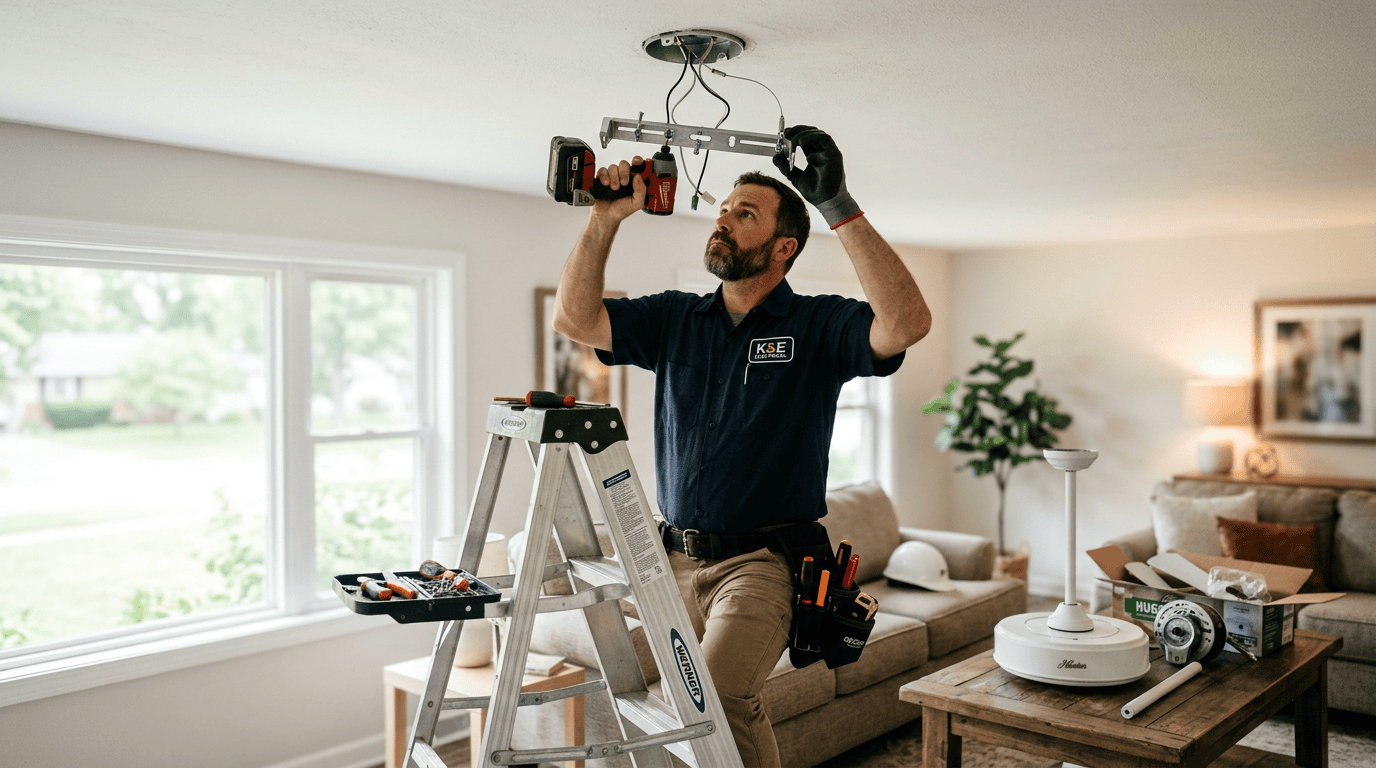
Start every ceiling fan installation by cutting power at the breaker and confirming the circuit is dead, then verify the electrical box can support the fan's moving weight before mounting the bracket, wiring the connections, and balancing the blades. Why does the order matter? Each stage depends on the one before it. A fan-rated box must be in place before any assembly is hung, because a standard lighting box is generally not built to hold a spinning load. Once the box is confirmed, the bracket is fastened to solid framing, a downrod or flush mount is chosen to match the ceiling height, and the motor is lifted into position. Wiring follows, matching the hot, neutral, and ground conductors so the motor and any light kit respond to the correct switches. Because this stage carries the same shock risk as any live circuit, the caution you would use to replace an outlet safely applies here. For placement, KJ Electrical follows proper fan placement guidance, centering the fan in the room, keeping the blades at least seven feet above the floor, and holding roughly eighteen inches of clearance from the walls. Balancing and testing every speed come last. Many homeowners across Southeast Kansas hand this sequence to a licensed, insured professional; an experienced Iola electrician can confirm the box rating and code compliance first.
- Cut power at the breaker and use a voltage tester to confirm the circuit is de-energized.
- Replace any standard lighting box with a fan-rated box or brace that carries the moving load.
- Secure the mounting bracket to solid framing that supports the running fan's full weight.
- Assemble the downrod or flush mount to match your ceiling height, then lift the motor into place.
- Connect the wiring by color, matching hot, neutral, and ground to the correct switches.
- Attach the blades and any light kit, keeping each blade evenly seated to reduce wobble.
- Restore power, then test and balance every speed for quiet operation.
Why the Electrical Box Comes First
- A standard lighting outlet box usually cannot carry a fan's moving weight, so a fan-rated box or brace must be installed first.
- Skipping this check is a common reason a ceiling fan installation later loosens or wobbles.
Which Ceiling Fan Mount Fits Your Room?
Choosing the right ceiling fan installation approach comes down to three variables: your ceiling height, your room size, and whether a professional handles the wiring. Homes with standard eight to nine foot ceilings suit a downrod mount, low ceilings call for a flush hugger, and vaulted rooms need an extended downrod or sloped adapter. Blade span should scale with square footage, so a compact bedroom and an open great room rarely take the same fan. Beyond the hardware, the biggest decision is method: weighing a DIY attempt against professional electrical work that confirms the outlet box, support bracket, and circuit are rated for a moving load. A light-fixture box is not built to carry a spinning motor, so fan-rated boxes and secure joist mounting matter. For larger commercial electrical projects, high-output fans or several units may be a better alternative to a single residential model. As a licensed and insured Southeast Kansas contractor, KJ Electrical Contracting helps clients compare these options and match the fan, mount, and controls to each space. Energy efficiency is another lever, since certified models move more air per watt and trim cooling costs over the life of the fan. Whichever route you choose, confirm clearances and load ratings before you commit.
Option | Best for | Key measurement | Efficiency or code note |
|---|---|---|---|
Flush (hugger) mount | Ceilings under 8 ft | Keeps blades at least 7 ft above the floor and 18 in from walls, per recommended mounting clearances | Best where headroom is tight and a downrod is not needed |
Standard downrod mount | 8 to 9 ft ceilings | Positions blades 8 to 9 ft above the floor for optimal airflow | Efficiency is rated in cubic feet per minute per watt |
Extended downrod mount | Tall or vaulted ceilings, 9 to 20 ft | Downrods from 6 in (9 ft ceiling) up to 120 in (20 ft ceiling) | Matches downrod length to ceiling height |
Fan size by room | Rooms about 75 to 400 sq ft | Blade spans 29 to 54 in; the 52-in model is most common | The Department of Energy has regulated fan efficiency since 2005 |
Ready to Install Your Ceiling Fan?
A safe ceiling fan installation starts with a properly rated box and code-compliant wiring, not guesswork. As a licensed and insured electrical contractor serving Southeast Kansas, we handle residential and commercial installations with a focus on safety and cost-effectiveness. Reach our team through our contact page for local expertise you can trust.
Frequently Asked Questions
How high should a ceiling fan be installed above the floor?
Mount the blades high enough for safe and effective airflow. According to ENERGY STAR, a ceiling fan should be mounted at least 7 feet above the floor and 18 inches from the walls, and raising it to roughly 8 or 9 feet improves circulation in rooms with taller ceilings. Height is one of the most important parts of any ceiling fan installation. See the safe mounting height guidance for room-by-room sizing advice.
Should I install a ceiling fan myself or hire a licensed electrician?
Hire a licensed, insured electrician whenever the job involves new wiring, a new circuit, or an outlet box that cannot support a fan's weight and motion. A poorly supported fan can wobble, loosen, or fall. KJ Electrical Contracting handles this work for homeowners, and our residential electrical services team completes each ceiling fan installation to code so the connection stays safe for years.
What type of electrical box does a ceiling fan need?
Use a metal fan-rated box that is anchored to framing and rated to carry both the weight and the movement of the fan. A standard lighting box is generally not strong enough. If you are unsure whether an existing box qualifies, have a qualified electrician inspect it before you hang anything.
How long does a ceiling fan installation take?
A straightforward swap that reuses existing wiring and a fan-rated box typically takes a couple of hours. A ceiling fan installation that needs new wiring, a support brace, or a switch change generally takes longer. Complexity, ceiling height, and access all affect the timeline.
Can a ceiling fan replace a light fixture that is already there?
Yes, in most cases, though the existing box usually must be swapped for a fan-rated one because a light box is not built for a fan's load. Homeowners around Humboldt and nearby towns can schedule a Humboldt electrician to confirm the box and wiring before installation.